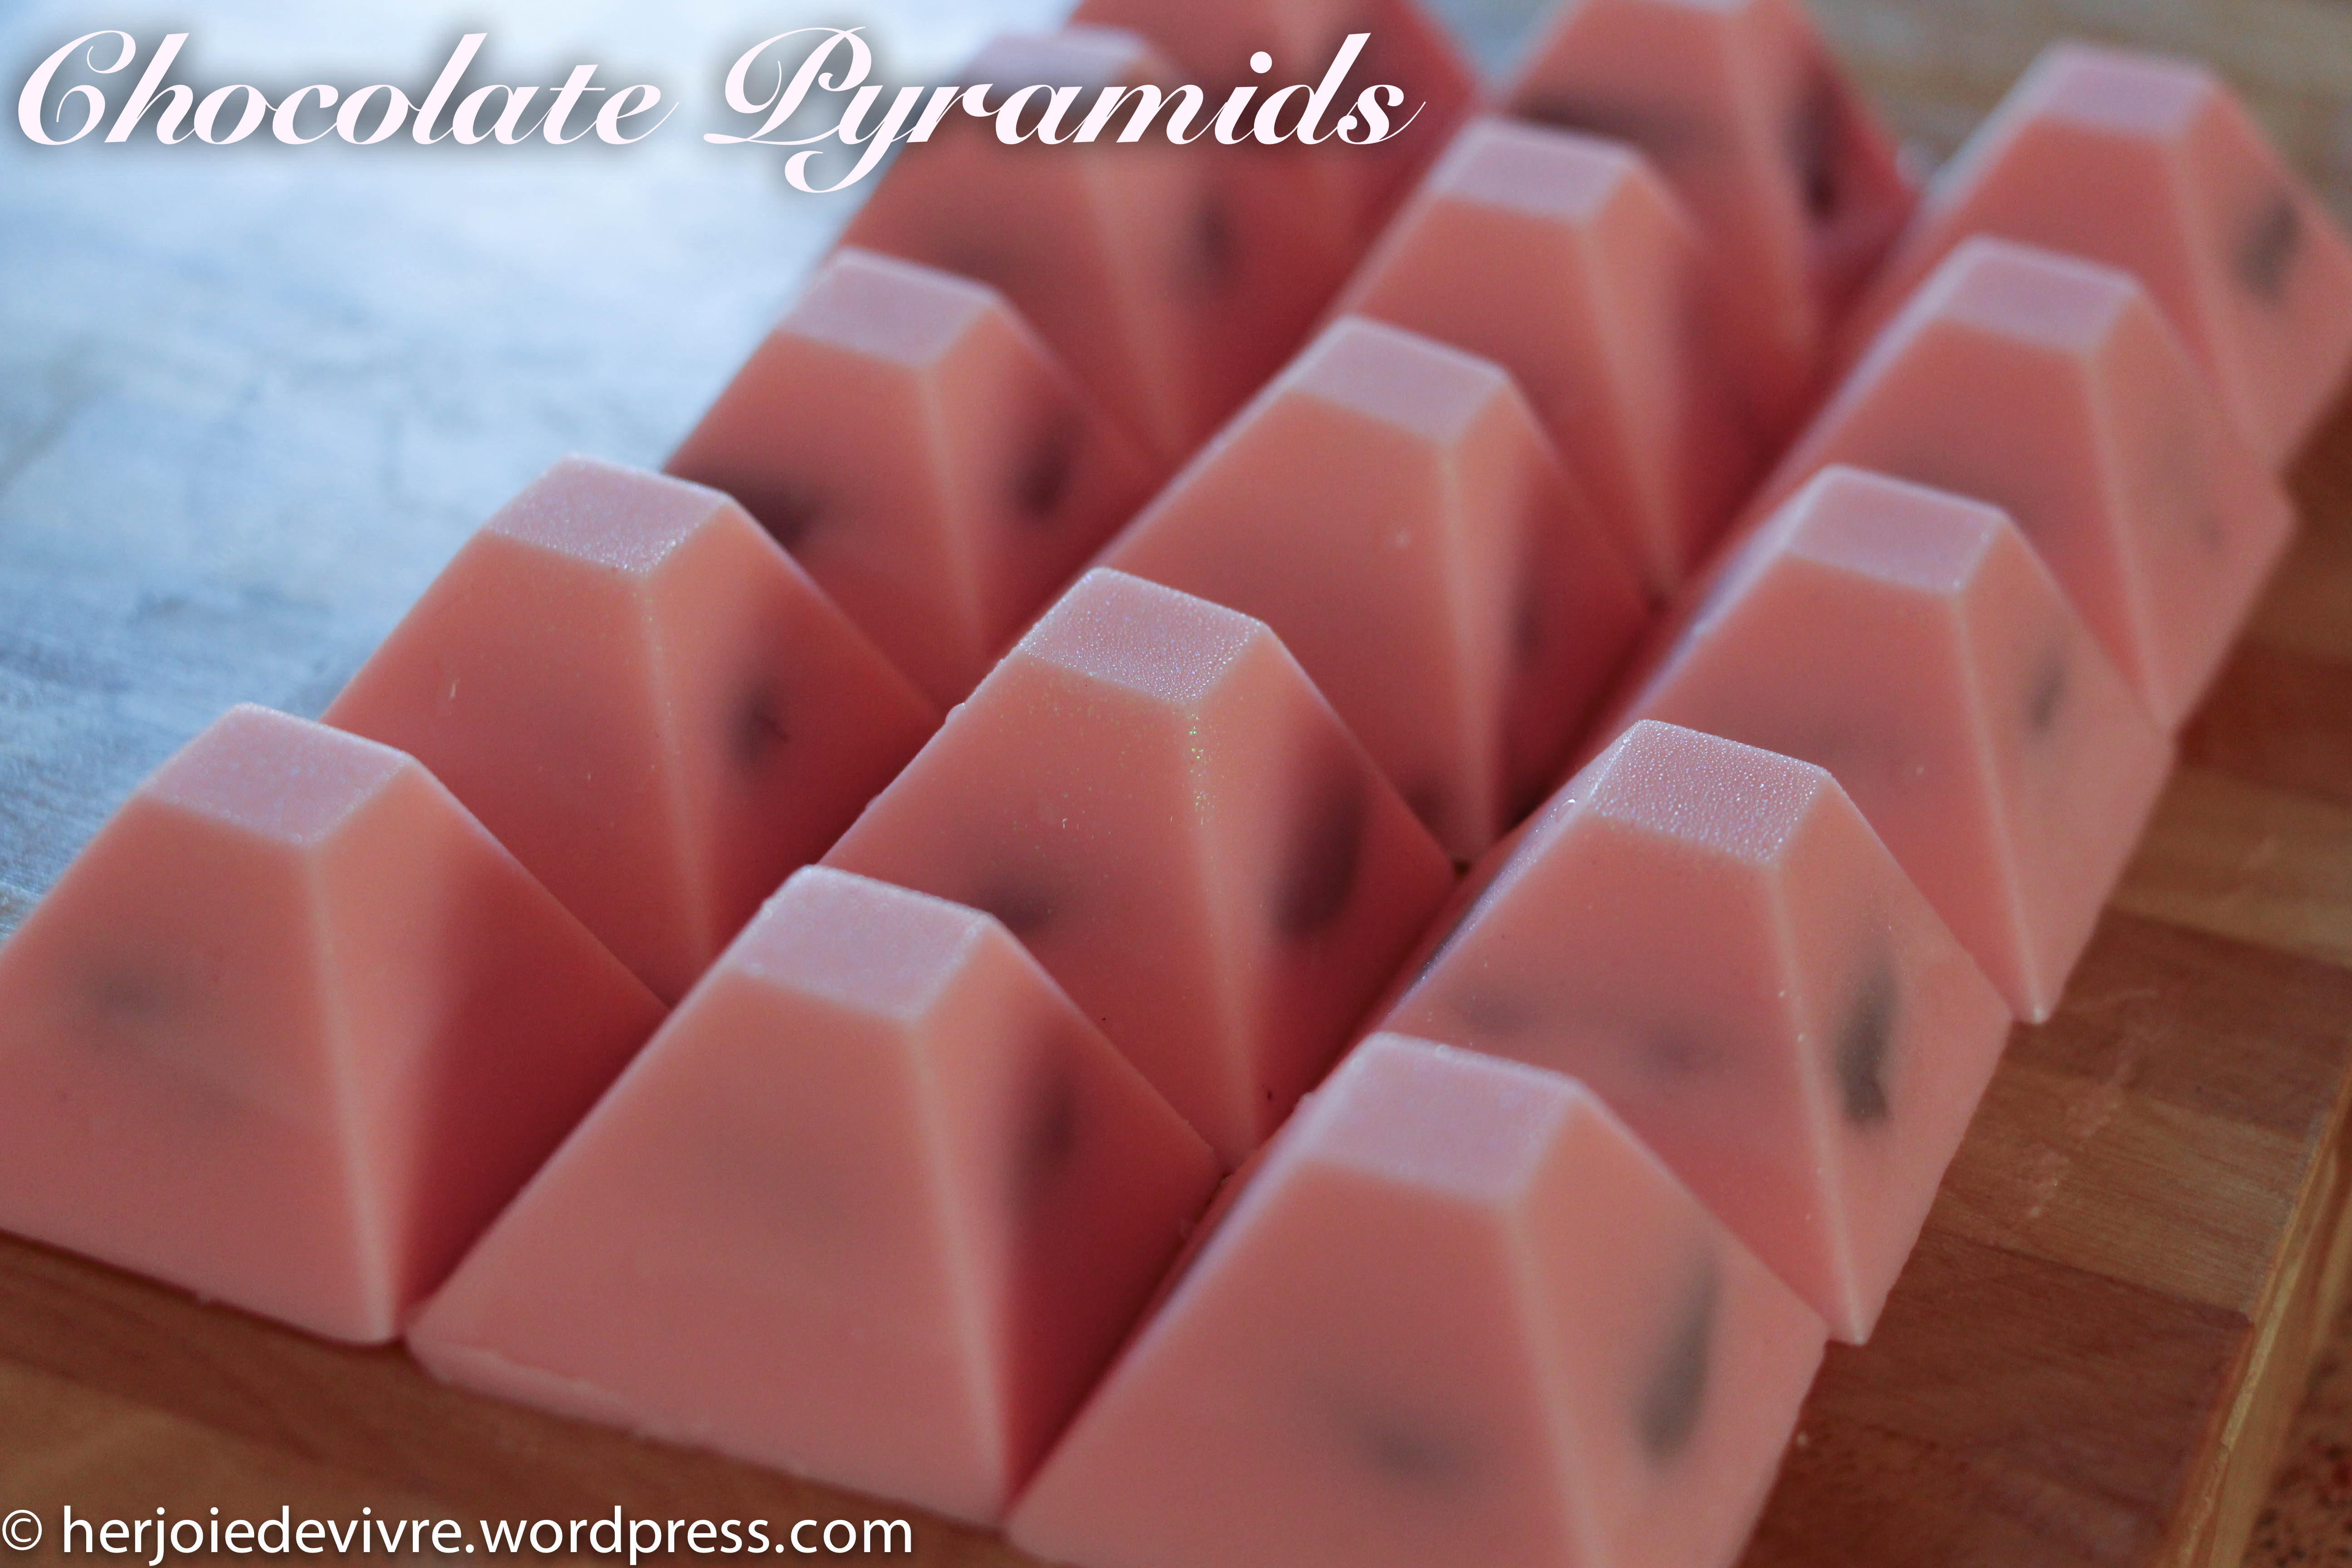
 So if you are in Australia, you would most probably be familiar with super gorgeous and super chic Nectar and Stone. They ever only have the prettiest desserts in the form of cakes, macarons and these beautiful chocolate gems and pyramids. I would personally call it a designer dessert boutique. If you have not checked it out, I would seriously recommend that you do – you will not regret it! These chocolates make the perfect gifts! They basically come in various flavours, and most commonly have a filling of Oreo cookies. For Valentines day I thought I’ll try my hand at these babies and create my own Nectar and Stone inspired chocolate pyramids. And so, these Strawberry Pyramids were made, filled with Nutella (who doesn’t love Nutella, right? I mean, that’s the only logical filling here). To make them, you will need the pyramid silicon mould or any mould you like, depending on the shape you desire. It’s surprisingly simple to create. The process is fun and the results, heavenly and not to mention they look like a thousand bucks! (Ok, not a thousand bucks but you get the deal!). Ingredients: 1. Silicon Pyramid moulds – This can be any other mould you would like your chocolates to turn out into. 2. 2 x 100g Lindt Lindor Chocolate Block White Single 3. Pink coloring (Only a drop or two required depending on your desired color) 4. Oil based flavouring – I have used Strawberry flavouring, also few drops required to your desired taste 5. 2 or 3 tablespoons of Nutella 6. Cake Sprinkles – I have mixed this with the Nutella as the filling of the chocolate pyramid 7. Edible sprinkle Method: 1. Using a brush, ‘paint’ the moulds with the edible glitter. 2. Place the silicon mould in the freezer. In the meantime, melt 100g of the chocolate in a heat proof bowl by placing it over a sauce pan of boiling water. Once the chocolate is 90% melted, take the bowl off the sauce pan and add the additional 100g of chocolate. Stir to melt all the chocolate to a smooth consistency. The melted chocolate shouldn’t be too runny – if so, then leave the chocolate to cool down for a bit. 3. Add the a drop of the pink food coloring to the melted chocolate and stir thoroughly. If you would like the chocolate to be more solid in color then add another drop and stir. 4. Add a couple of drops of the Strawberry flavouring. It’s always best to add bit by bit and test the flavour as we go on. 5. Once the mixture is ready, bring out the silicon that has been siting in the freezer. Cover the mould with a single or thin layer of chocolate. We need to work quickly here to make the best out of the frozen moulds. Once completed, place the mould back into the freezer for a good 5-10 mins. If the layer of chocolate isn’t so thick, then it would harden faster than if it were pretty thick. 6. While the mould is in the freezer, mix the Nutella with the Cake Sprinkles and place them into a piping bag. We will be piping the Nutella mixture into the moulds. 7. Remove the mould from the freezer and pipe the Nutella mixture into the centre of the moulds to about 1/2 of the volume. Do not overflow from the mould because you will need to pour the remaining chocolate to hold the shape and the Nutella. 8. Once all mould have had the filling, pour the remaining chocolate into the moulds and place it back into the freezer for another 20-30 mins. 9. Remove the mould from freezer. The chocolate should feel hard and solid that you can just pop it out of the moulds (like you would ice cubes) and Voila! Enjoy the beautiful chocolate pyramids you have made. I actually made these again as a gift for a friend who was moving away. It’s the perfect gift, pretty and personal and she absolutely loved it! The steps can be modified and you can replace the filling, use milk or dark chocolate, dress it up differently, anything! The possibilities are endless! I hope you enjoy them as much as I did!

